Growing succulents and cacti from seeds
The article gives a detailed and systematic approach to growing succulents and cacti from seeds. It covers all the necessary steps, from preparation to germination, and provides important tips for maintaining healthy growth.
Sowing cacti and succulents are not as difficult as it seems, you just need to follow several simple rules that we will present in this photo guide.
1.
First you need to choose a container for sowing and choose the right soil. We use small clean, preferably new pots of shallow depth. In each of the pots, we sow one, less often two species of succulents to avoid further confusion in the names.
As a substrate for sowing, we use three types of soil of different fractions, which consists of mineral components (perlite, pumice, lava, zeolite) and a small amount of organic matter in the form of coconut soil. The largest fraction of the soil is drainage, the middle fraction is the main soil, and the smallest is, as it were, powder for germination.
All soil is pre-sifted with a flour sieve from the smallest dust. If this is not done, this can lead to gluing and further cementation of the substrate, which greatly impairs soil aeration and leads to root rot. We sterilize the soil and drainage moistened with water in a sealed container in a microwave oven for 6 minutes at the highest power to prevent the development of pathogenic microbiota.

2.We fill one-third of the pots with drainage, which serves to remove excess moisture and provide good aeration of the soil. The drainage consists of 90% coarse agroperlite sifted from dust with a slight addition of coarse pumice and lava.

3.
Then we fill the rest of the pots with the main soil, which consists of 50% fine perlite and equal proportions of fine pumice, lava, zeolite, and coconut soil. The particle size ranges from 1 to 2.5 mm. We leave about half a centimetre from the edge of the pots so that when moistened, the seeds do not fall out of it.

4.
And at the end we pour about 2mm of a smaller substrate, which has the same composition, but the particles of which do not exceed 1mm. This is necessary for better fixation in the soil of the first germinal roots during seed germination and faster development of the root system in the future. It should be noted that this stage is relevant for small seeds (0.1-2 mm). For larger seeds, this layer of soil is not needed.

5.
After preparing the soil, you should sign the tags with the names of the plants and insert them into the desired pots. It is more convenient to do this just before sowing, this will protect you from confusion and make the sowing process more accurate.

6.
We pour the seeds pre-cleaned from the remnants of the fruit onto a V-shaped piece of thin cardboard, which helps to evenly scatter the seeds on the substrate without touching them with your fingers.

7.
This is what the sowing process looks like. With a light tapping of the finger, pour out the seeds and evenly scatter them on the surface of the soil. Larger seeds can be pressed into the ground a little with a small spatula.

8.
We carefully place the pots with crops in a clean container with a tight-fitting lid and moisten abundantly with a sprayer with a 3% hydrogen peroxide solution. This is necessary for additional disinfection of seeds and soil surface and softening of the hard seed coat.

9.
Then we close the container with a lid and put the crops under lamps with a cold spectrum (6500 Kelvin) and a power of 3-4 thousand Lux. The distance of the pots to the lamps is 15-20 cm. The optimum temperature for the germination of most succulents is around +23 – +26 degrees Celsius. But for some representatives, a lower temperature of +10 – +15 degrees Celsius (Aizoaceae) or much higher than +30 – +35 degrees Celsius (Pachypodium, Dorstenia) is needed.

10.
The germination process can last from 3-5 days to 1 month, it depends on the type and quality of the seeds. In most species, fresh seeds sprout well, but in some, the seeds must lie for up to 1 year (some species of Aizoaceae), undergo a process of scarification (partial destruction of the seed coat) or stratification (temperature exposure) like Tephrocactus.
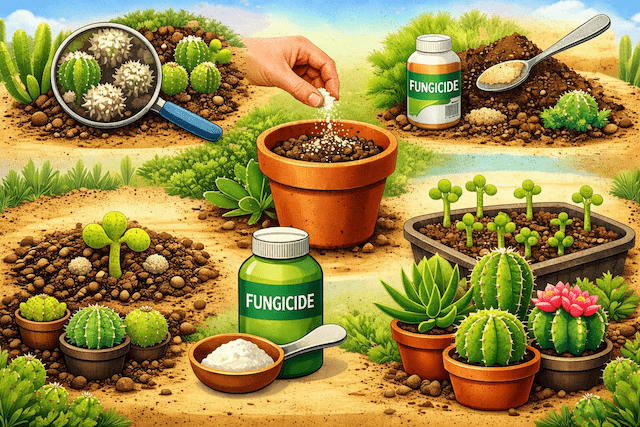
During this period, it is important to monitor the appearance of mould fungi and phytophthora. To do this, you need to check crops daily and remove infected areas with tweezers. Seeds that have sprouted upside down should be carefully turned over with tweezers and planted in the hole made earlier. It is not advisable to over dry young seedlings and keep the substrate constantly moistened. To prevent mass infection of a puddle, spray the crops with a solution of fungicides based on anilinopyrimidines and phenylpyrroles (Switch), as well as propamocarb hydrochloride and fosetyl aluminium (Previkur, Magnikur). Don’t forget about protective equipment! Also, do not exceed the dosage and treat crops more than 5 times, this can cause phytotoxicity and have unpredictable results.

11.
The appearance of green algae on the soil surface may indicate prolonged waterlogging, excess lighting, or indicates that it is time to ventilate the crops and accustom the seedlings to grow without a lid on the container. First, open the lid for a couple of hours, then step by step increase ventilation and after a week you can completely remove it. Monitor the moisture in the soil, do not allow stagnant water and prolonged over-drying.

12.
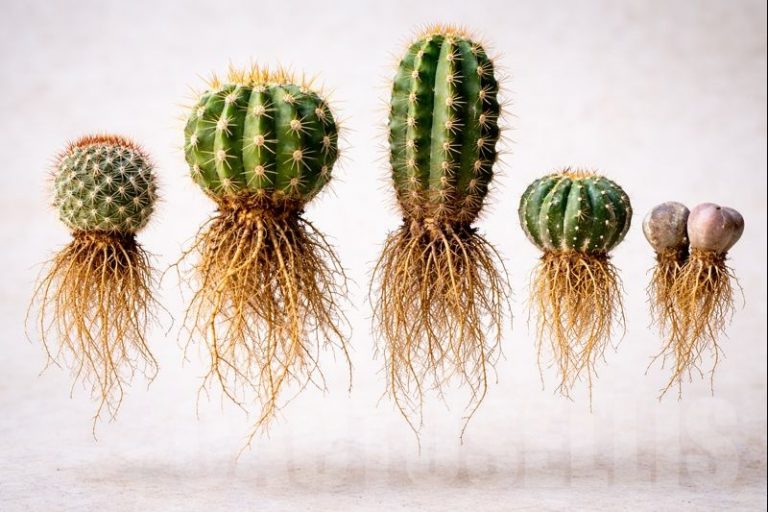
When the seedlings begin to grow very close and push each other, it’s time to carry out their first transplant into larger containers, and this indicates that you have succeeded)